
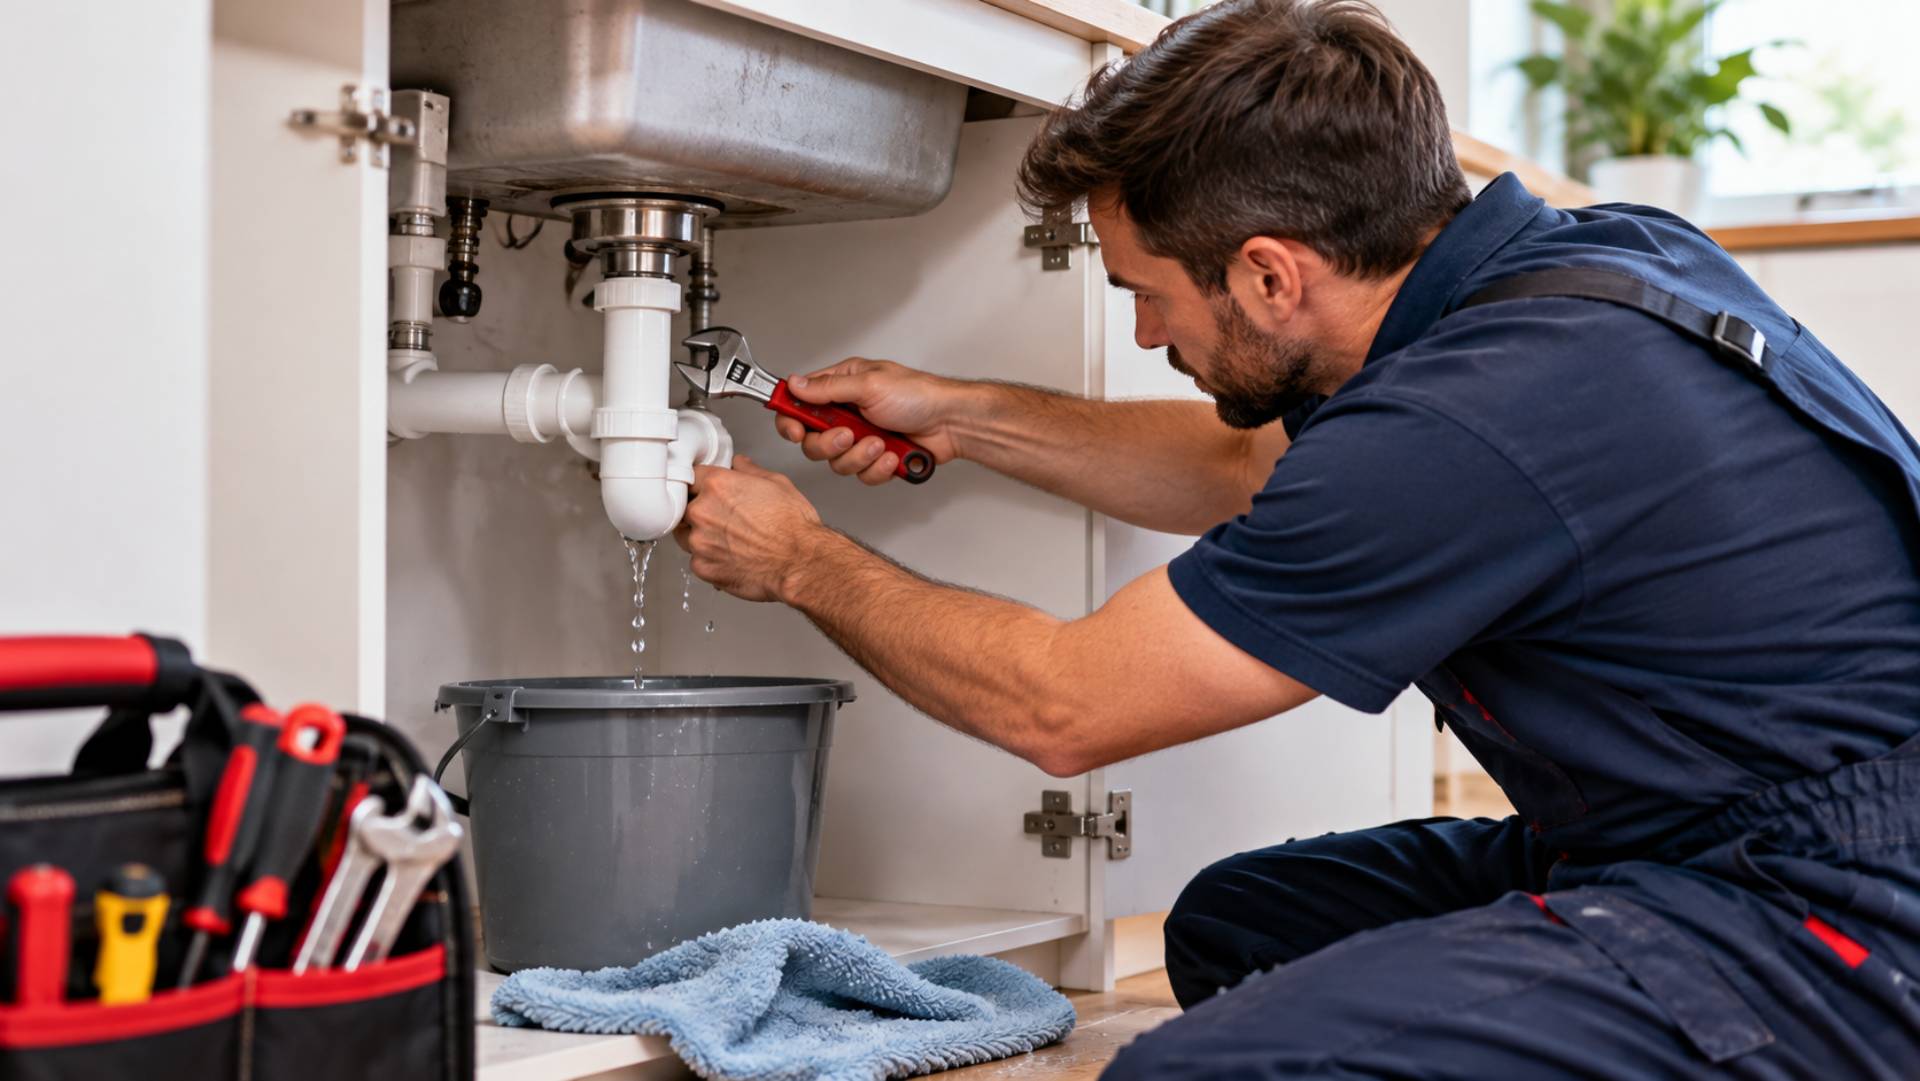
Finding a water leak can feel unsettling. Whether it shows as damp patches, rising bills or the sound of running water, the next steps matter. Acting promptly limits damage and keeps repair costs under control.
Once a leak is confirmed, most people turn to leak repair services to move from detection to a lasting fix. Understanding the usual process and the options available helps you make informed decisions and know what to expect.
Confirming the Location and Assessing the Damage
After a leak is located, the engineer examines the exact point of failure and the surrounding area. This includes checking how far water has travelled, whether the pipe material is sound elsewhere, and whether secondary damage such as damp, mould or weakened plaster has already occurred.
Internal leaks often sit behind walls, under floors or in ceilings. External leaks usually involve the underground supply pipe between the boundary and the property. Accurate location reduces unnecessary opening-up of surfaces and keeps disruption lower.
The engineer will explain the findings clearly and outline the practical choices available before any work begins. This discussion covers the type of repair, the likely time involved and any temporary measures needed to keep the property usable.
Temporary Measures to Limit Further Damage
In many cases the water supply is isolated or reduced at the affected section while permanent repairs are planned. Temporary clamps, wraps or bypass arrangements can stop or slow the flow until the full repair is carried out.
Standing water is removed and affected areas are dried as far as possible. Good ventilation helps prevent mould growth. Photographs and notes taken at this stage support any later insurance claim by recording the condition before repairs start.
These short-term steps protect the property while materials are prepared or access is arranged. They are not a substitute for a permanent solution.
Common Repair Approaches
The method chosen depends on the pipe location, material, accessibility and the extent of the damage.
Accessible internal pipes can often be repaired by cutting out the failed section and fitting a new length with suitable joints. Small holes may be sealed with specialist clamps or approved repair compounds where the surrounding pipe remains sound.
Pipes buried under floors, driveways or gardens present different challenges. Traditional excavation exposes the damaged length so it can be replaced. Where disruption needs to be minimised, trenchless techniques such as moling can pull a new pipe through the ground with far less surface digging.
Older lead supply pipes are sometimes replaced entirely with modern materials once a leak is found, especially if the rest of the run shows signs of age or corrosion. The decision rests on the condition of the remaining pipework and any relevant regulations.
In every case the repair aims to restore a reliable, watertight connection that matches the existing system pressure and flow requirements.
Factors That Influence the Choice of Repair
Several practical points guide the final recommendation:
- Location of the leak and how easily the pipe can be reached.
- Age and material of the existing pipework.
- Extent of any secondary damage to floors, walls or foundations.
- Need to keep disruption to gardens, driveways or living spaces as low as possible.
- Whether the supply pipe is the homeowner’s responsibility or belongs to the water company.
- Insurance requirements and the documentation needed for a claim.
Discussing these points with the engineer helps match the repair method to the specific situation rather than applying a single approach to every leak.
What to Expect During and After the Work
Once the method is agreed, the engineer carries out the repair. Access points are opened carefully, the failed section is dealt with, and new joints or pipe lengths are tested for leaks before surfaces are closed again. Any temporary boarding or protection is removed and the area is left tidy.
After the repair, the water supply is restored and the system is checked under normal pressure. Advice is usually given on monitoring the area for a short period and on any drying or decoration that may still be required.
If water damage has affected plaster, flooring or insulation, further drying or reinstatement work may follow. Clear records of the detection findings and the repair itself assist insurance claims and provide a useful history for the property.
When Professional Advice Is Especially Useful
Complex situations benefit from experienced assessment. Multiple leaks, older mixed pipe systems, or signs of structural movement linked to long-term water escape all require careful evaluation. A qualified engineer can confirm whether a local repair is sufficient or whether a longer section of pipe needs attention.
Insurance companies often request detailed reports showing the cause, location and extent of damage. Professional documentation supports these claims and reduces delays.
Final Summary
Once a leak is found, the process moves from precise location and damage assessment to temporary control measures and then to a permanent repair suited to the pipe’s position and condition. Options range from straightforward section replacement to trenchless methods that limit surface disruption.
Act promptly, keep the affected area documented, and discuss the available repair methods with the engineer before work begins. Clear communication and a method matched to the specific leak restore a reliable water supply while keeping further damage and disruption to a minimum.